The Parkmaker's Guide:
Wall Decorations
Congratulations! You've just created a building in RCT. You must be very proud of your work, for it is a grand piece of architecture. Build another building. Then build another one. Create a park full of 'em. Is it harder than you thought at first? Of course it is.
It happens to all of us, even the best parkmakers. Eventually, we feel that the architecture we're building is getting a little old and we don't know what to do. Well, because of this fact, I've assembled a catalogue of different ways you can make your walls look interesting while not detracting from your overall theme too much. Pay attention because this is very important when becoming a maestro at the art of parkmaking.
Windows
You know it already. Windows are the biggest things people use to add detail to their walls. With many different wall textures, there comes many different windows. There's the round, square, arch, and any shape you desire, and they're there to help. I use windows in almost every building I make, but the key is not overdoing it. A good building doesn't have a window on every tile possible. It has patterns or selected areas for windows. Finding the right place to put 'em is essential to great architecture.
There are many patterns you can use to vary your window placement. I've collected three that I know of, and categorized them below:
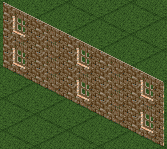
"Checkerboard"
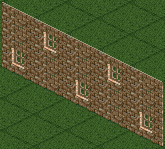
"Center"
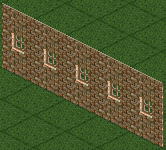
Colors
Having several different colors on your walls also helps to create an interesting appeal. Be creative with this idea, and don't be afraid to mix some windows in there with this technique. This option also gives you much more freedom to go wild with patterns and color schemes. It's great for your more "abstract" parks but also works well with an average "dull-toned" park if done correctly. Here's some samples of what I have done to the three above window patterns listed previously.
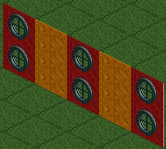
"Colored Checkerboard"

"Colored Center"

Textures
If you're new to the game, you may not realize that different textures also go well together. Experiment with different textures, and see which ones you like to see when matched up. Again, don't forget to be creative and mix some windows as well. Here's what I did to the "Every Other" and "Center" windows.
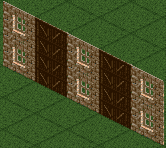
Wood and Brick
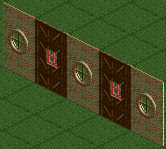
Stripes
When I say stripes, I'm talking horizontally. I've already demonstrated vertical stripes via the colors and textures, so I need not say more. This specific method can use both colors and textures to give an extra accent to any wall or building. However, in order to do this, be sure that you use multiple walls for every vertical slot. If you use one wall per tile, you won't be able to color it appropriately. Now to the pictures.
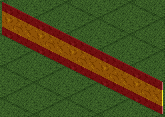
"Texture Stripe"
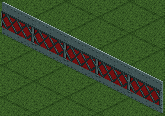
"Window Stripe"

Dividers
These are especially important when doing multiple stories with buildings. They're similar to the stripe, but somewhat smaller and they even out the building when you're using flat and sloped rooves (see Issue #3: Roofing). They can also be the breaking point of one pattern and the beginning point of another. In other words, you can select one type of wall design for the bottom and another type for the top. You can also experiment with windows, colors, and textures, which gives this the utmost importance in creating that perfect look.
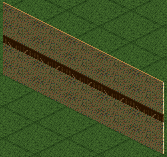
Plain and Abstract
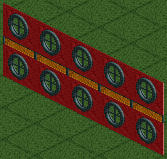
Mechanical with Colors
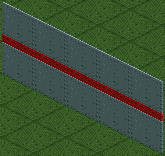
Stacking
I don't have any pictures for this, because there are way too many possibilities to even begin categorizing them. I use the term "Stacking" because this involves taking the different techniques previously mentioned (windows, colors, textures, stripes, and dividers) and "stacking" one atop the other in multiple story buildings. This gives you an infinite amount of possibilites, because you can stack checkerboard windows above a striped pattern, or a texture pattern on top of a window pattern. The list is endless. Go for it.
And that pretty much wraps up my catalogue of different types of walls. Whether you're a beginner or a pro, you can always seek reference in this Parkmaker's Guide to help get you out of your building block and into new possibilities with different wall decorations. Have fun and keep experimenting.
Copyright © Steve Welch